In the Weagree Wizard, schedules and annexes are stored outside it in a dedicated schedules and annexes library. This enables using them across multiple templates. Unlike global building blocks and global contract clauses, they are not inserted directly into the template outline. Instead, they are automatically appended through the use of tags. Like templates, schedules and annexes are edited via the Template Creation Tool (TCT) and can incorporate any number of contract clauses and questions.
TABLE OF CONTENTS
A. Organising schedules and annexes
B. Tagging in your template
C. Tagging in a schedule or annex
D. Organising your template’s schedules and annexes
A. ORGANISING SCHEDULES AND ANNEXES
Schedules and annexes can be added, edited or deleted from the schedules and annexes library.
1. Open the TCT.
2. Click Organise schedules and annexes. A pop-up will appear.

3. To create a new schedule or annex:
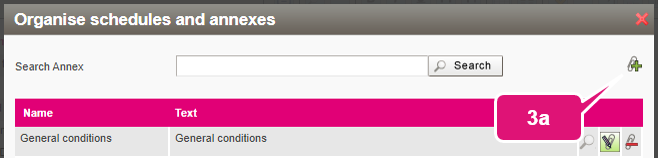
a. Click Add new annex. Another pop-up will appear.
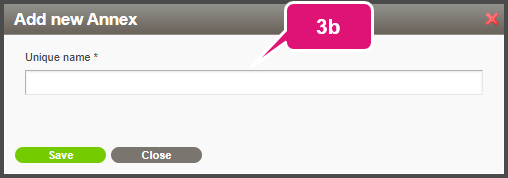
b. Insert a unique name. This is the name used to identify the schedule or annex in the library and tags used in templates.
Note: it is advisable to add a clear prefix to the name if the schedule or annex is specific to the template. This is not only the case when a different schedule or annex with the same name would be required for another type of document, but also when it contains a cross-reference to a building block or contract clause in the template (global building blocks and global contract clauses excepted). An acronym of the document title will typically suffice (e.g. DA for a Distribution agreement, so the full unique name for a General conditions schedule would be “DA_General conditions”).
c. Click Save.
The new schedule or annex will be opened in the TCT, where you can edit it like you would a template. They have their own ‘outline’ on the left side of the TCT and the top component should always have either the Schedule heading or Annex heading styling. This will determine whether one will actually be referred to as “Schedule” or “Annex”, or the equivalent thereof if a customised Word template (for another language than English) is used. Keep in mind that, in hierarchical terms, schedules precede annexes (like Level 1 precedes Level 2). Do not forget to click Save the changes made (or press Ctrl+S) when you are done.
Note: schedules and annexes can also be created and filled with content during automated import. For more information, click here.
4. To edit an existing schedule or annex:
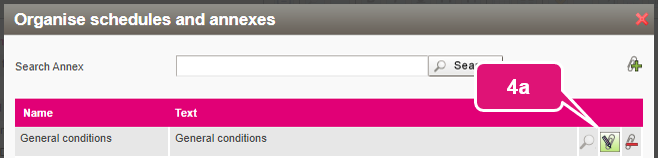
a. Click Edit annex.
b. Click Edit the annex name to change its unique name.
c. Edit the body text as needed.
d. Click Save the changes made (or press Ctrl+S).
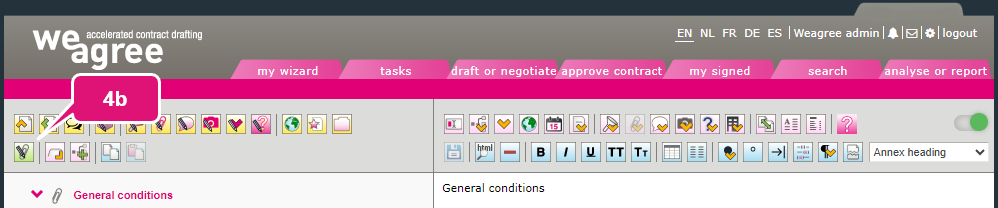
5. To delete a schedule or annex, click Remove.
Note: be careful when editing or deleting any schedule or annex that might be used in multiple templates, as this will affect all of them. Changing the unique name means you will have to correct every instance of its being tagged. Do this using the search and replace functionality.
B. TAGGING IN YOUR TEMPLATE
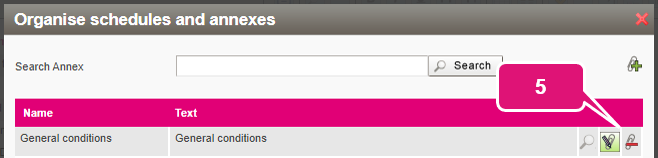
Schedules and annexes work like any other tag, in that the Weagree Wizard replaces them with something else when going through a questionnaire or generating a document. Specifically, it is replaced by a cross-reference to that schedule or annex. The tag always takes the format [annex.Name]; it is only the choice between the Schedule heading or Annex heading style that distinguishes one from the other.
Moreover, the tag ‘triggers’ the schedule or annex being appended to the template proper and its inclusion in the generated document. Unlike definitions, each mention of a schedule or annex should be replaced with a tag to ensure proper cross-referencing in the final document.
1. Locate the intended (global) building block or contract clause, or definition. For tags in other schedules and annexes, see section C below.
2. Select the reference to the schedule or annex in the text (or position the cursor where it must be inserted).
Note: when replacing a reference with an annex tag, you should always select or delete not just the number of the schedule or annex, but also the word “Schedule” or “Annex” (or equivalent or translation thereof) preceding that number. The final cross-reference in the generated document will automatically include the appropriate designation. This distinguishes annex tags from most regular reference tags, which merely insert a number.
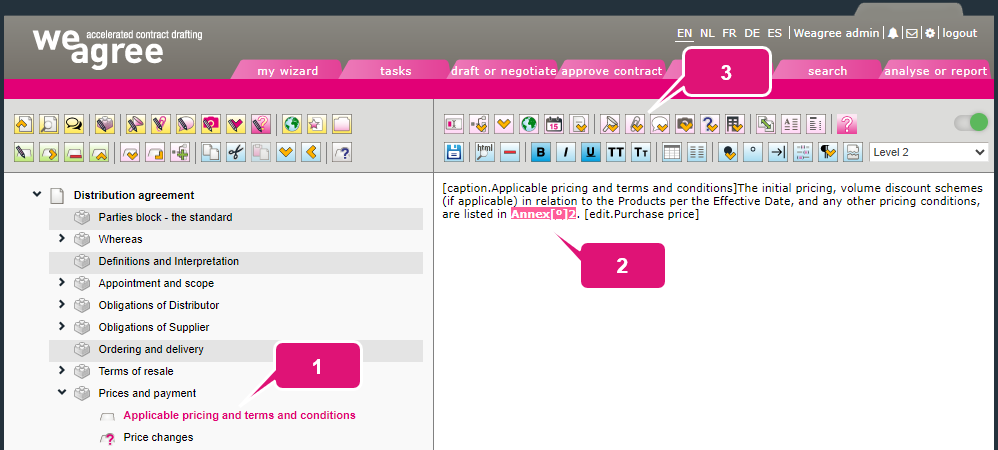
3. Click Insert a schedule or annex. A pop-up will appear.
4. Select the corresponding schedule or annex.
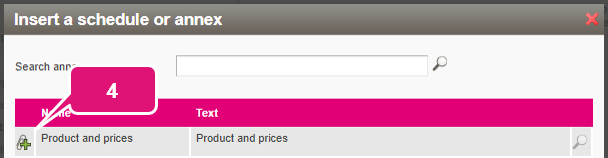
Note: it is also possible to manually type out the tag.
5. Click Save the changes made (or press Ctrl+S).
C. TAGGING IN ANOTHER SCHEDULE OR ANNEX
Annex tags do not work inside schedules and annexes. If a schedule or annex must refer to another one, this limitation must be circumvented with the use of a cross-reference instead. For more information on cross-references, click here (see section B).
However, a simple cross-reference will not cause the other schedule or annex to be added to the template. It must be tagged somewhere within the template itself or a definition used in the template. If there is no explicit reference to the schedule or annex, then it is possible to invisibly tag it using building block and contract clause formatting or the HTML editor.
D. ORGANISING YOUR TEMPLATE’S SCHEDULES AND ANNEXES
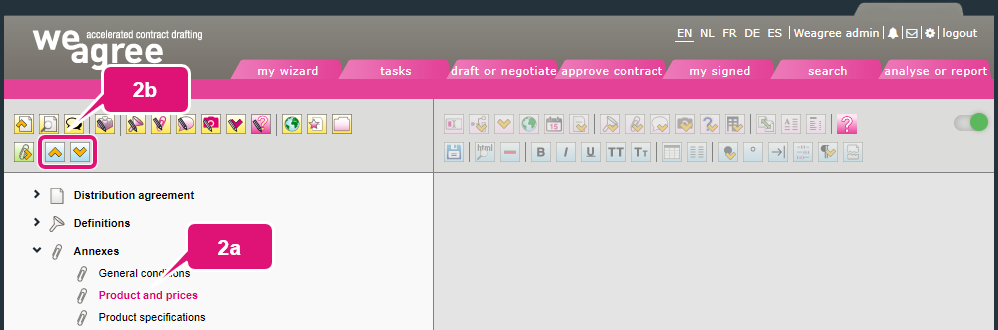
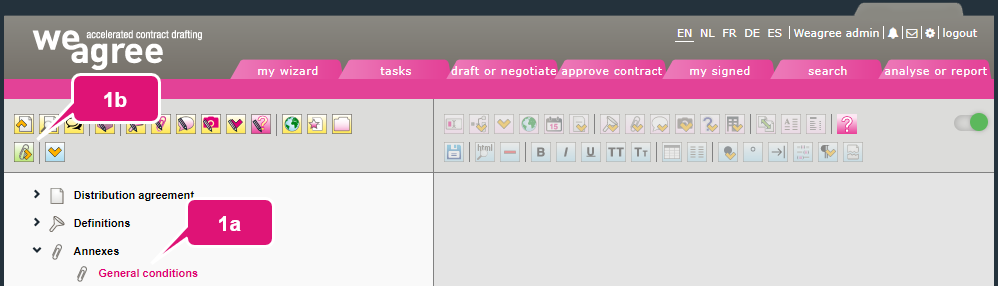
All annex tags triggered by the template are listed in the TCT below the template outline and used definitions (if any), which are collapsed in the screenshots below. Check whether all schedules and annexes are present when finalising or updating a template. You can also use this to edit any of them or change their order, which by default is determined by the tags’ order of appearance throughout the template.
1. To edit a schedule or annex:
a. Select the schedule or annex.
b. Click Focus on this annex and confirm that you want to edit it.
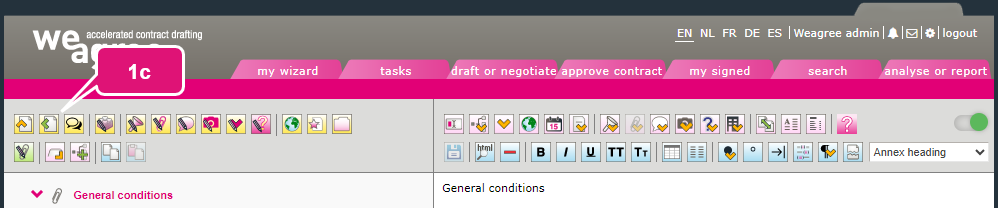
c. After completing and saving your changes, click Return to the template (view) to go back to the template outline.
2. To change the schedules’ and annexes’ order:
a. Select a schedule or annex.
b. Click Move the component upwards or Move the component downwards as many times as necessary.